Table of Contents
Base GroupGroup TreeCreating a GroupDeleting a GroupRenaming a GroupMoving and re-ordering GroupsAdding items to a GroupMoving Items between GroupsRemoving Items from a GroupImporting a GroupExporting a GroupAccessing your Groups can be done from the core TSM Dashboard, by clicking on the minimap icon or typing /tsm.
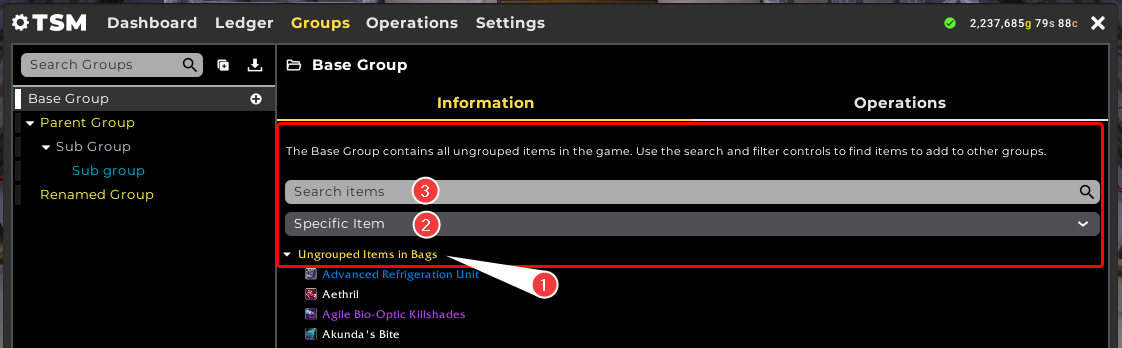
Base Group
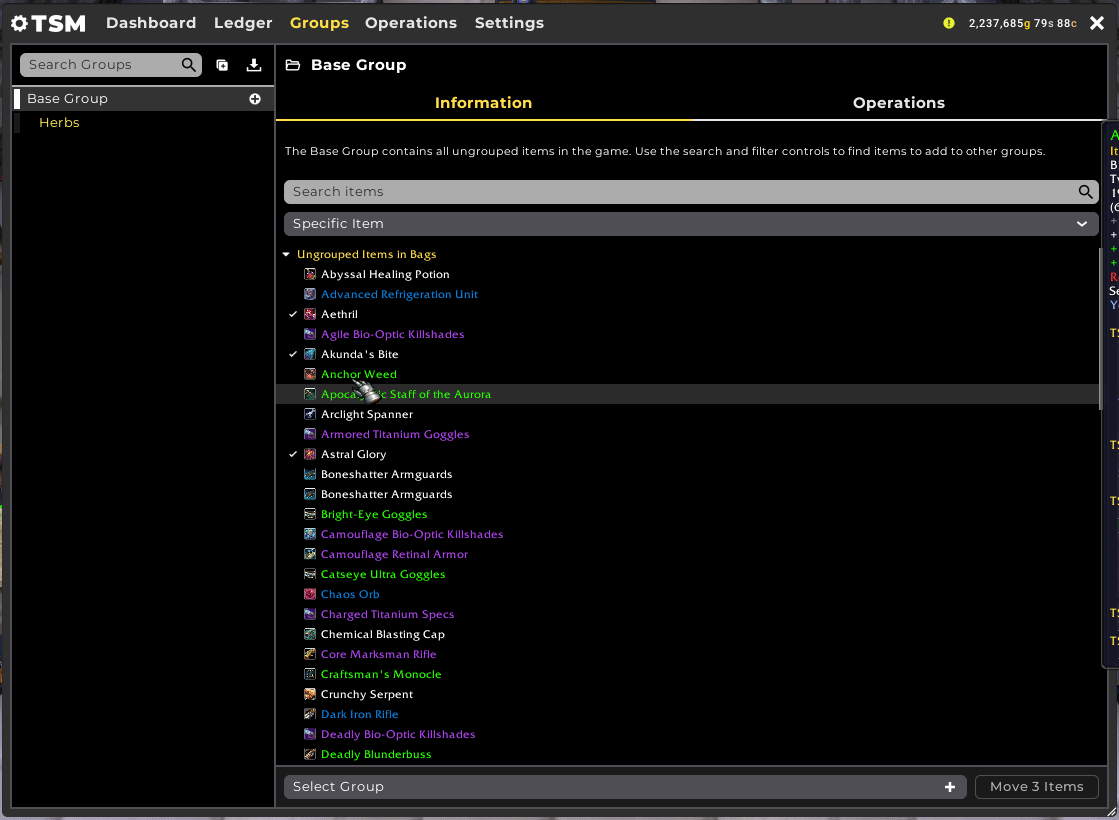
The Base Group comes default with the TSM Addon and cannot be removed. It contains all items in the game that are not otherwise specifically added to another group. Selecting the Base Group in the Group Tree will show:
- Ungrouped items in Bags. The items you have in your inventory that are not added to any other group.
- 'Show ungrouped items as'. This drop down menu determines whether the ungrouped items in your inventory are shown by their specific item variation, their item level only, or the base item variation. Related article: How do I add items to groups while ignoring stats or item level?
- Search items. Searching and filtering the Base Group allows you to find any item in the game that is not otherwise specifically added to a group, even if you do not have the item in your inventory. Related article: How do I filter items in my Groups or the Base Group?
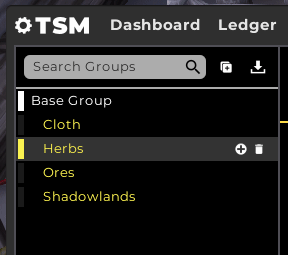
Group Tree
On the left of the Groups tab is the Group Tree, this shows all of your Groups along with the Base Group.
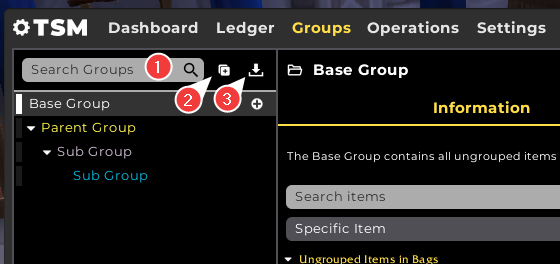
- Search Groups allows you to search your Groups by name (not the content of your Groups).
- Expand / Collapse All Groups allows you to quickly expand or collapse all of your Groups.
-
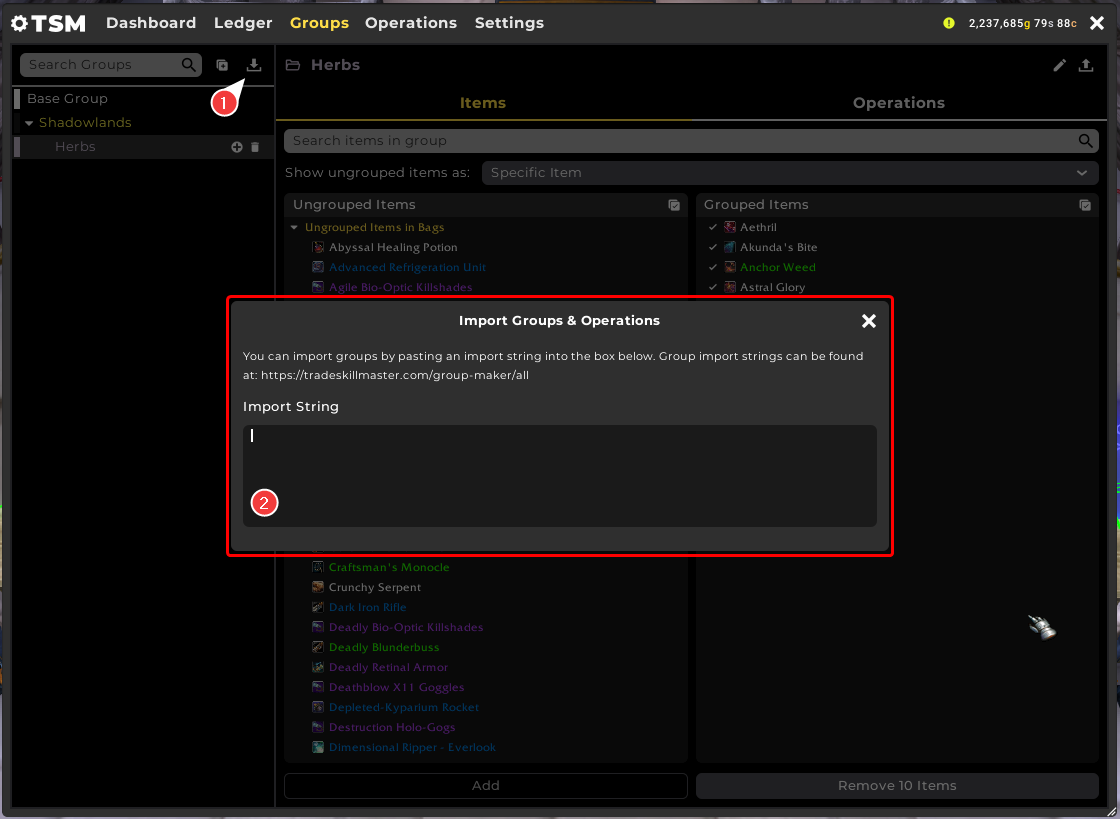
Import Group allows you to import a string to create Groups. More on this below.
- Related Article: Where can I find group imports?
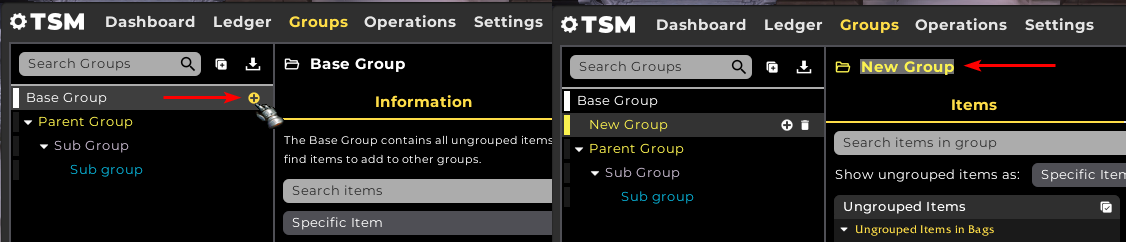
Creating a Group
Clicking the + icon on the Base Group will create a new Group. The name field of the Group will be automatically selected for you to fill in the name:
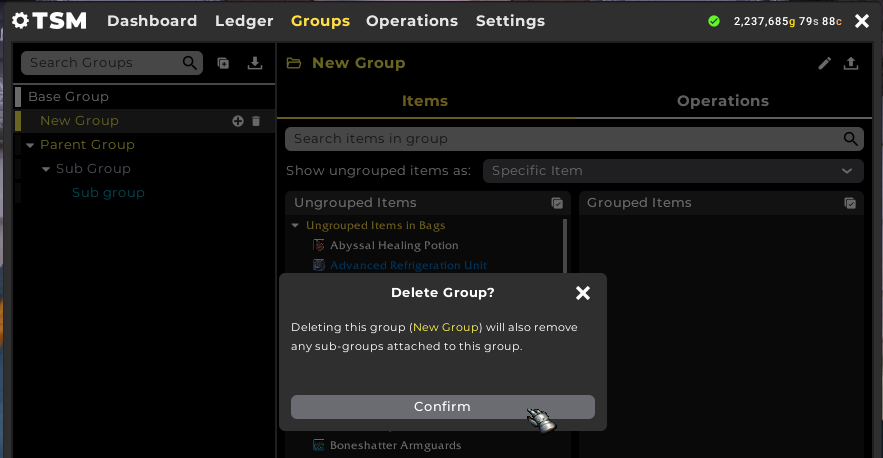
Deleting a Group
Clicking the trash can icon on any Group will delete the Group with a confirmation dialog. Note: All sub-groups under the Group marked for deletion will also be deleted.

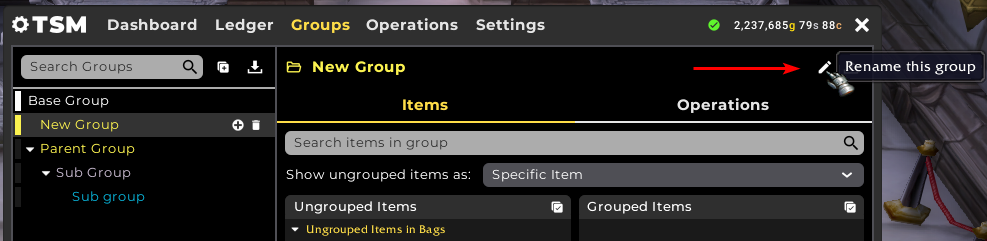
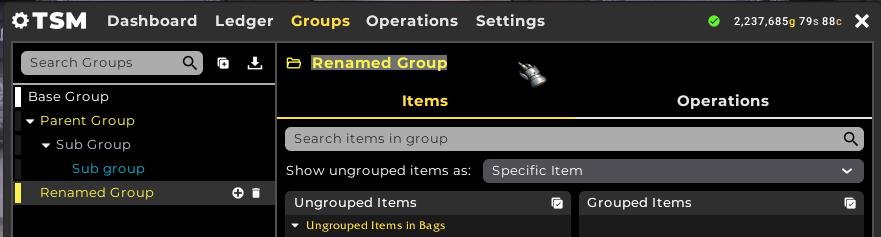
Renaming a Group
Clicking the pencil icon with a Group selected will allow the renaming of a Group.
Moving and re-ordering Groups
Groups also have drag and drop functionality to re-order the hierarchy of Parent Group and Sub Group:
Note: Dragging and dropping a Group to the Base Group will convert it into a top level Parent Group.
Adding items to a Group
From the Base Group
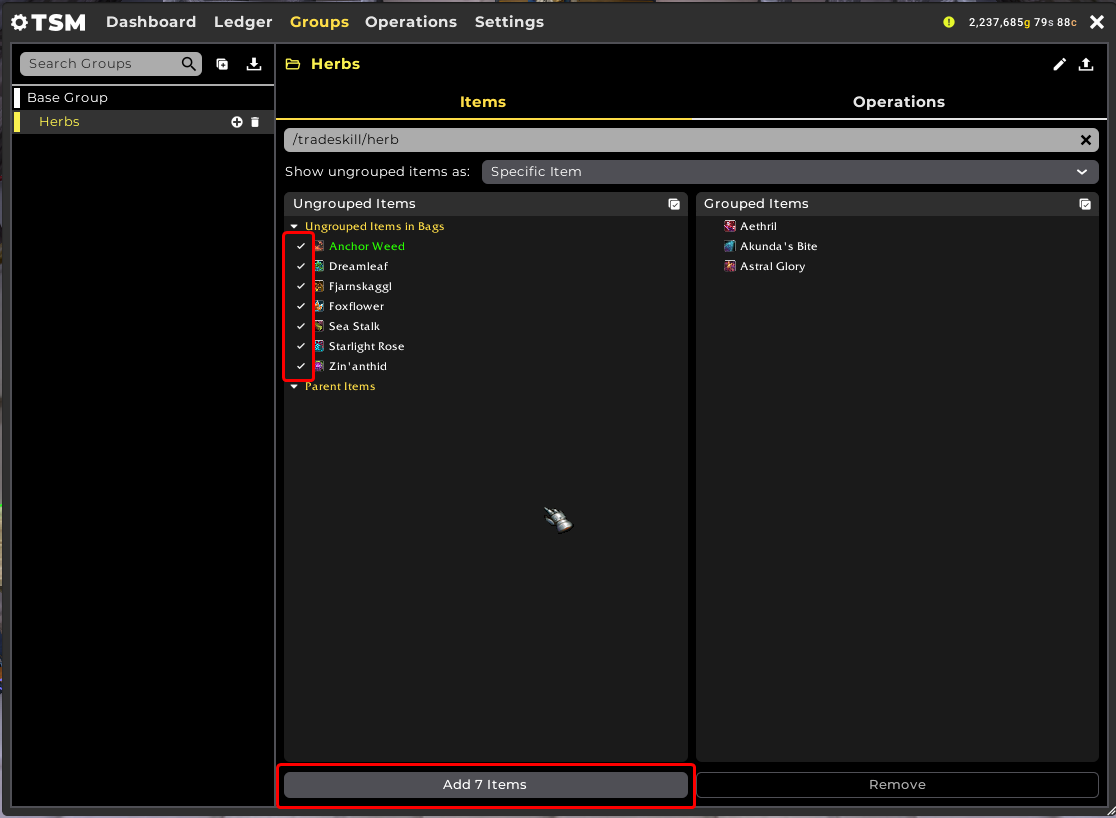
Selecting individual or multiple items in the Base Group will allow you to add them to a Group in two ways. In the following example, three herbs are selected by left clicking on them. The first method is the Group selection menu at the bottom of the interface:
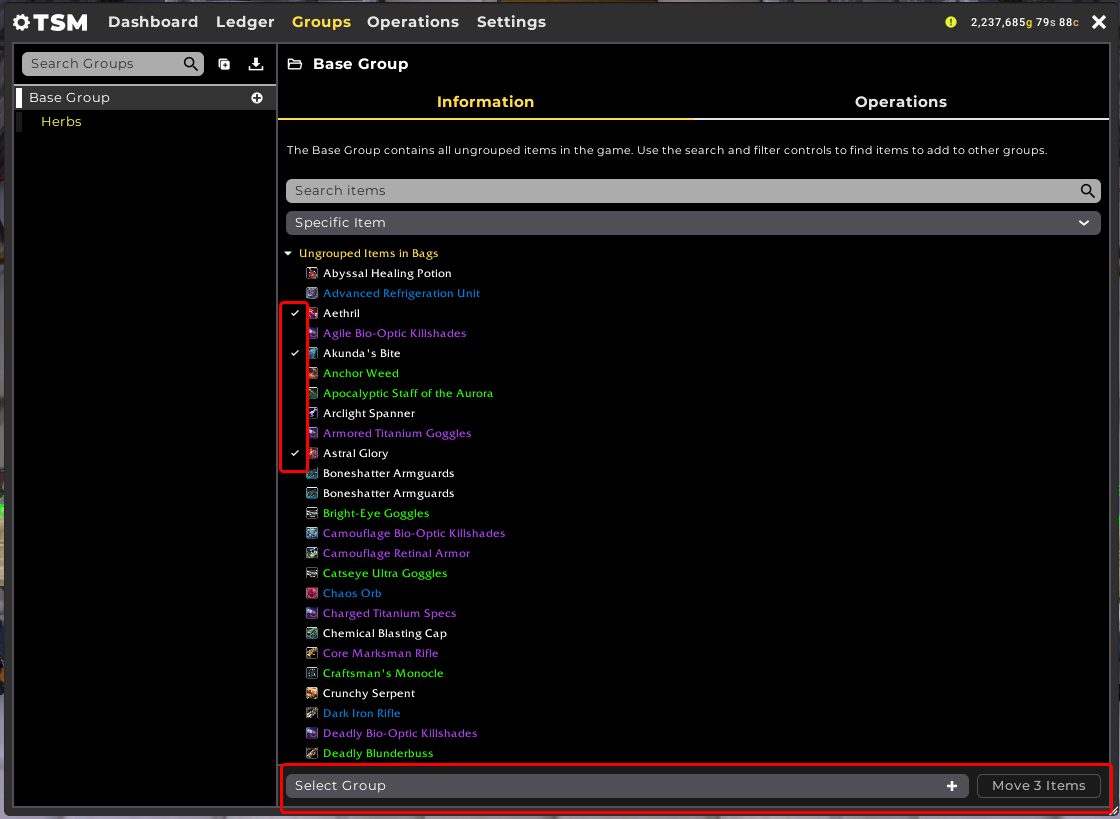
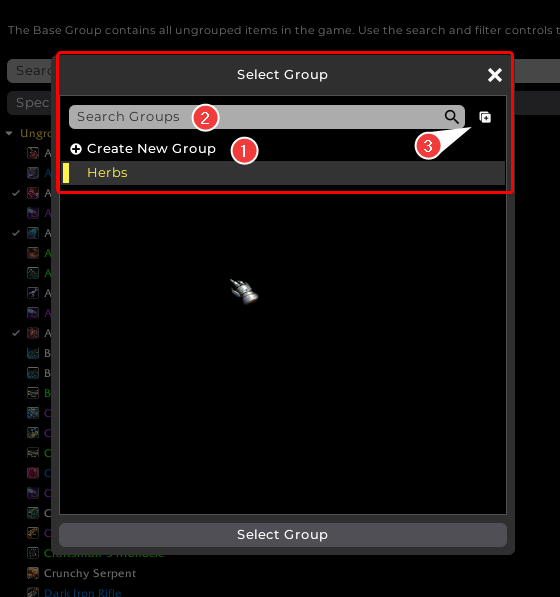
The Select Group dialog offers to Create New Group (1), search your existing Groups (2), and expand/collapse all Groups in the Group Tree (3) and selection of your target Group:
Once the target Group is selected, clicking 'Move 3 Items' in the bottom right of the interface will move the selected items to the specified Group.

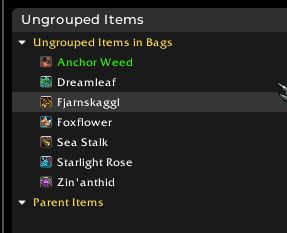
Alternatively, you can also simply drag and drop the selected items from the Ungrouped Items in Bags panel, directly to the target Group:
From any other Group
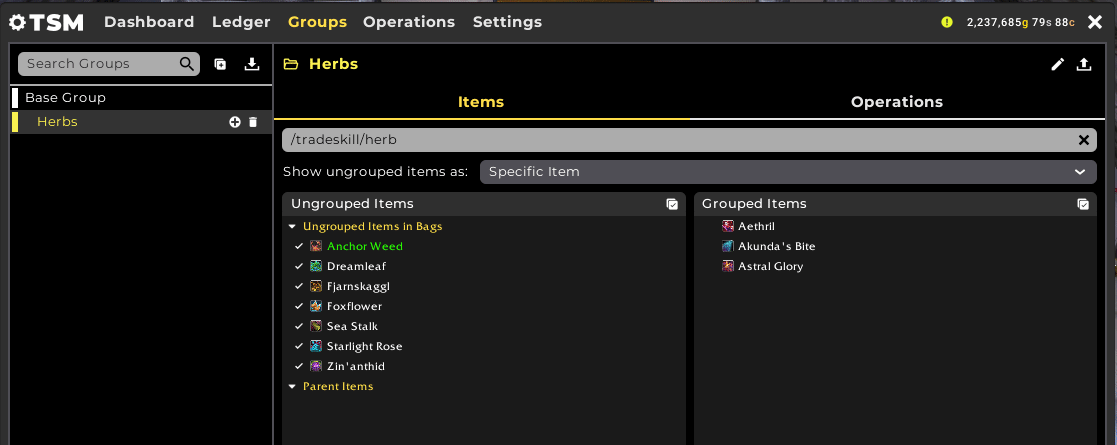
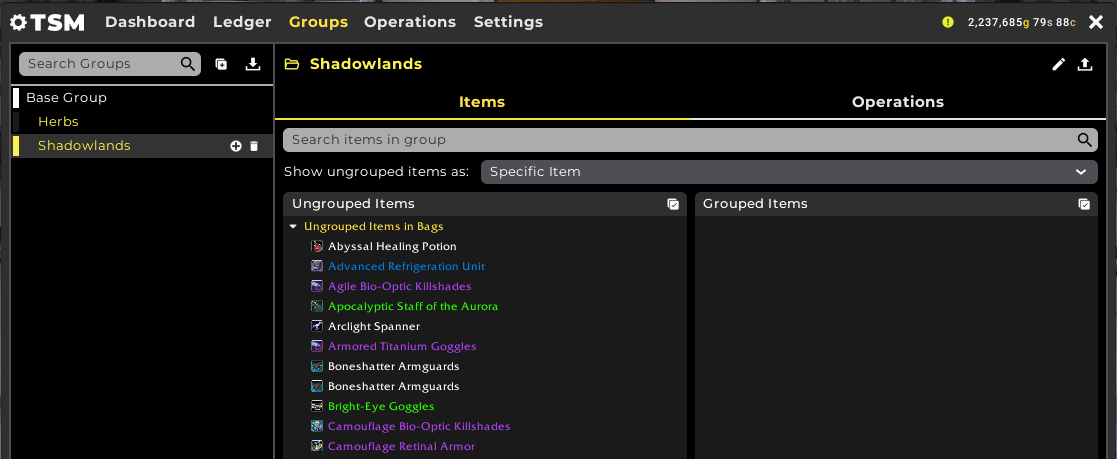
Selecting an existing Group will also display Ungrouped Items in Bags, where items selected can be added directly to the Group:
Alternatively, you can drag and drop the selected items to the target Group in the Group Tree (not the 'Grouped Items' panel on the right):
Moving Items between Groups
Similarly to adding items to a group, the drag and drop functionality is available to move items from one Group to another:
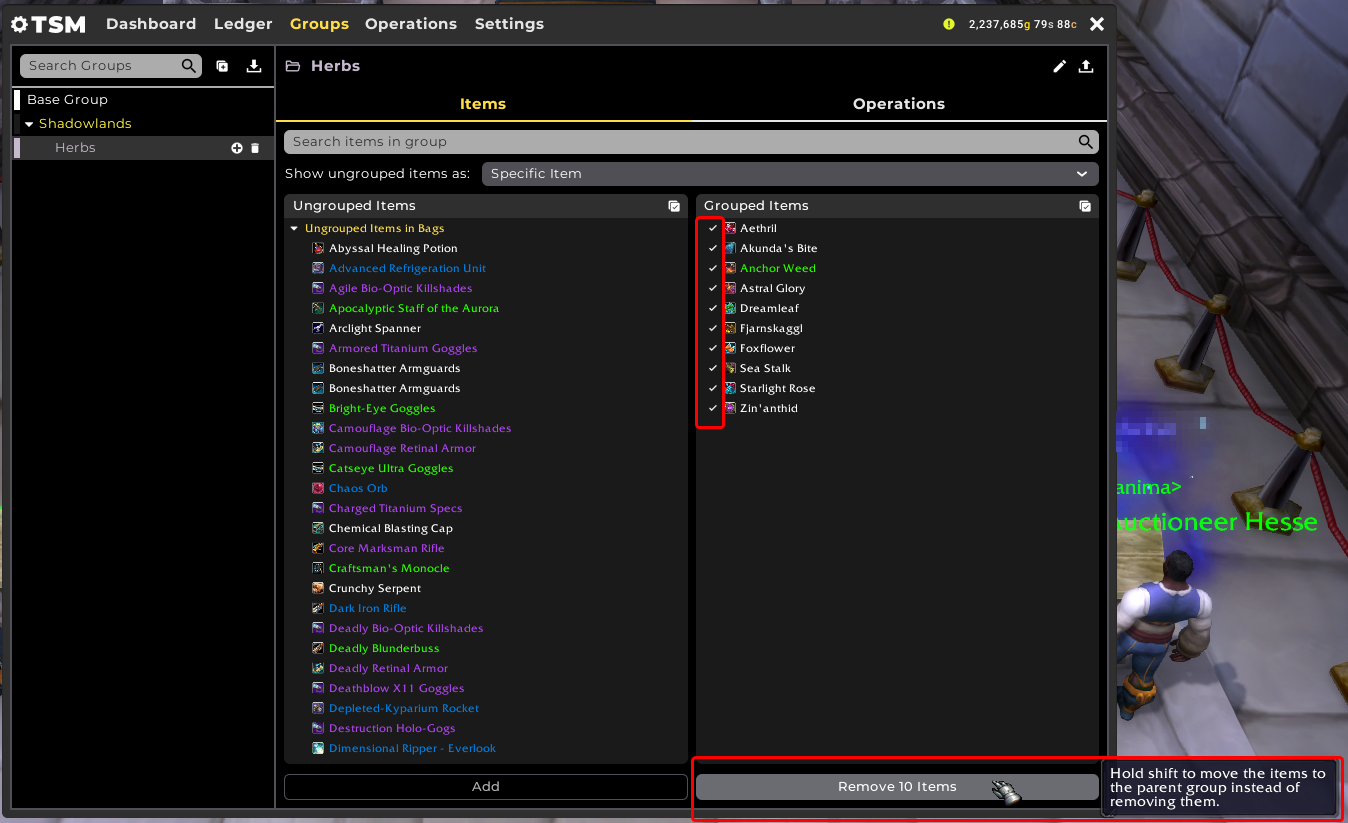
Removing Items from a Group
After selecting individual or multiple items in the Grouped Items panel of a Group, the option to Remove Items is available at the bottom of the interface:
Importing a Group
Selecting the Import Group button (1) at the top of the Group Tree will show the import group dialog. Paste your import string in to the field (2):
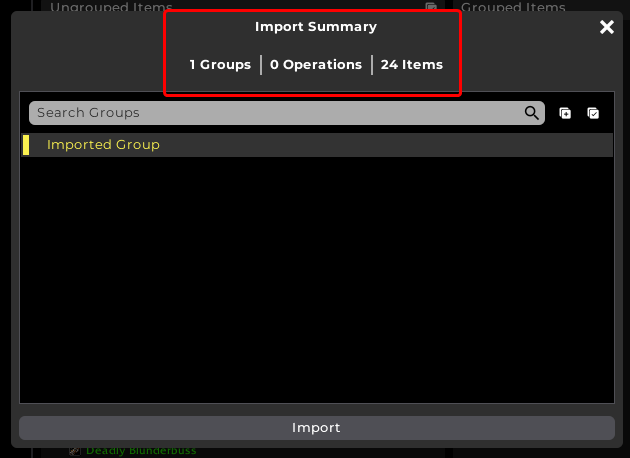
On the import confirmation dialog you will be provided an Import Summary which includes the number of Groups, Operations, and Items in the Import:
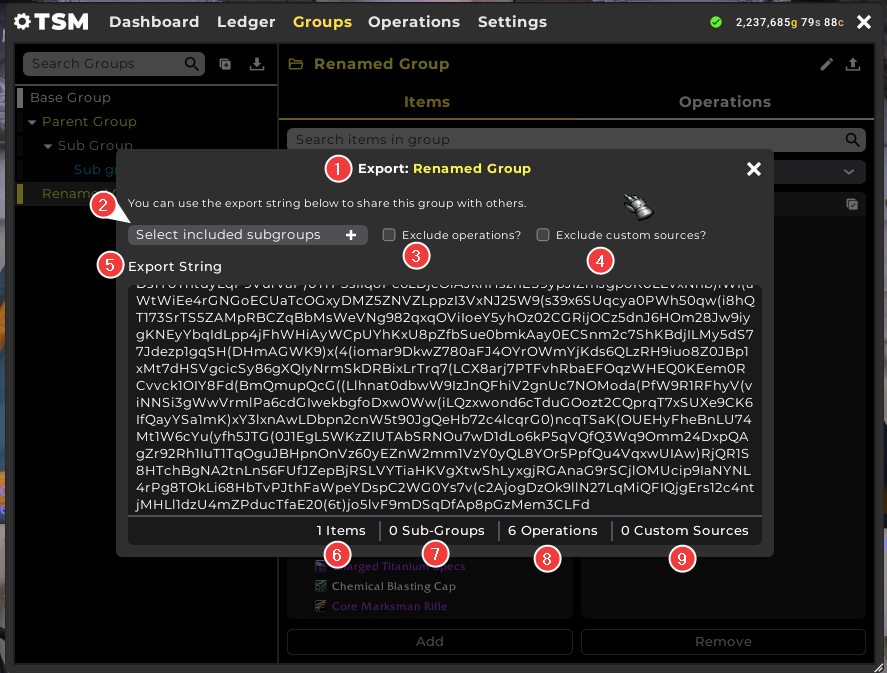
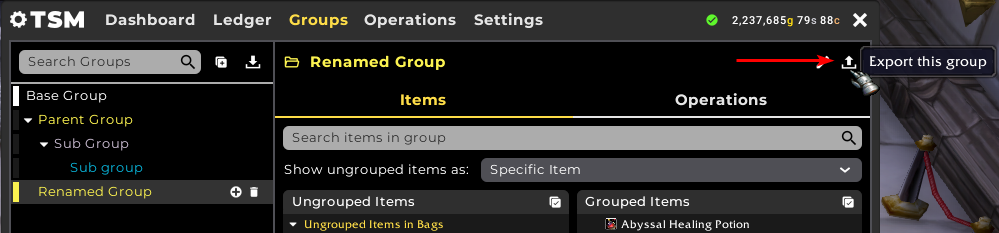
Exporting a Group
Clicking the Export icon will bring up the Export Group dialog:
The Export Group dialog shows the following information:
- Name of the Group being exported.
- Selection of sub-groups, if chosen, included in the Export
- Option to exclude Operations i.e only Export the Group(s) and the items it contains
- Option to exclude Custom Sources within the Operations assigned to the Group(s)
- The Export String to copy and paste or share to your target destination
- A count of items included in the Export
- A count of Sub-Groups included in the Export
- A count of Operations included in the Export
- A count of Custom Sources included in the Export